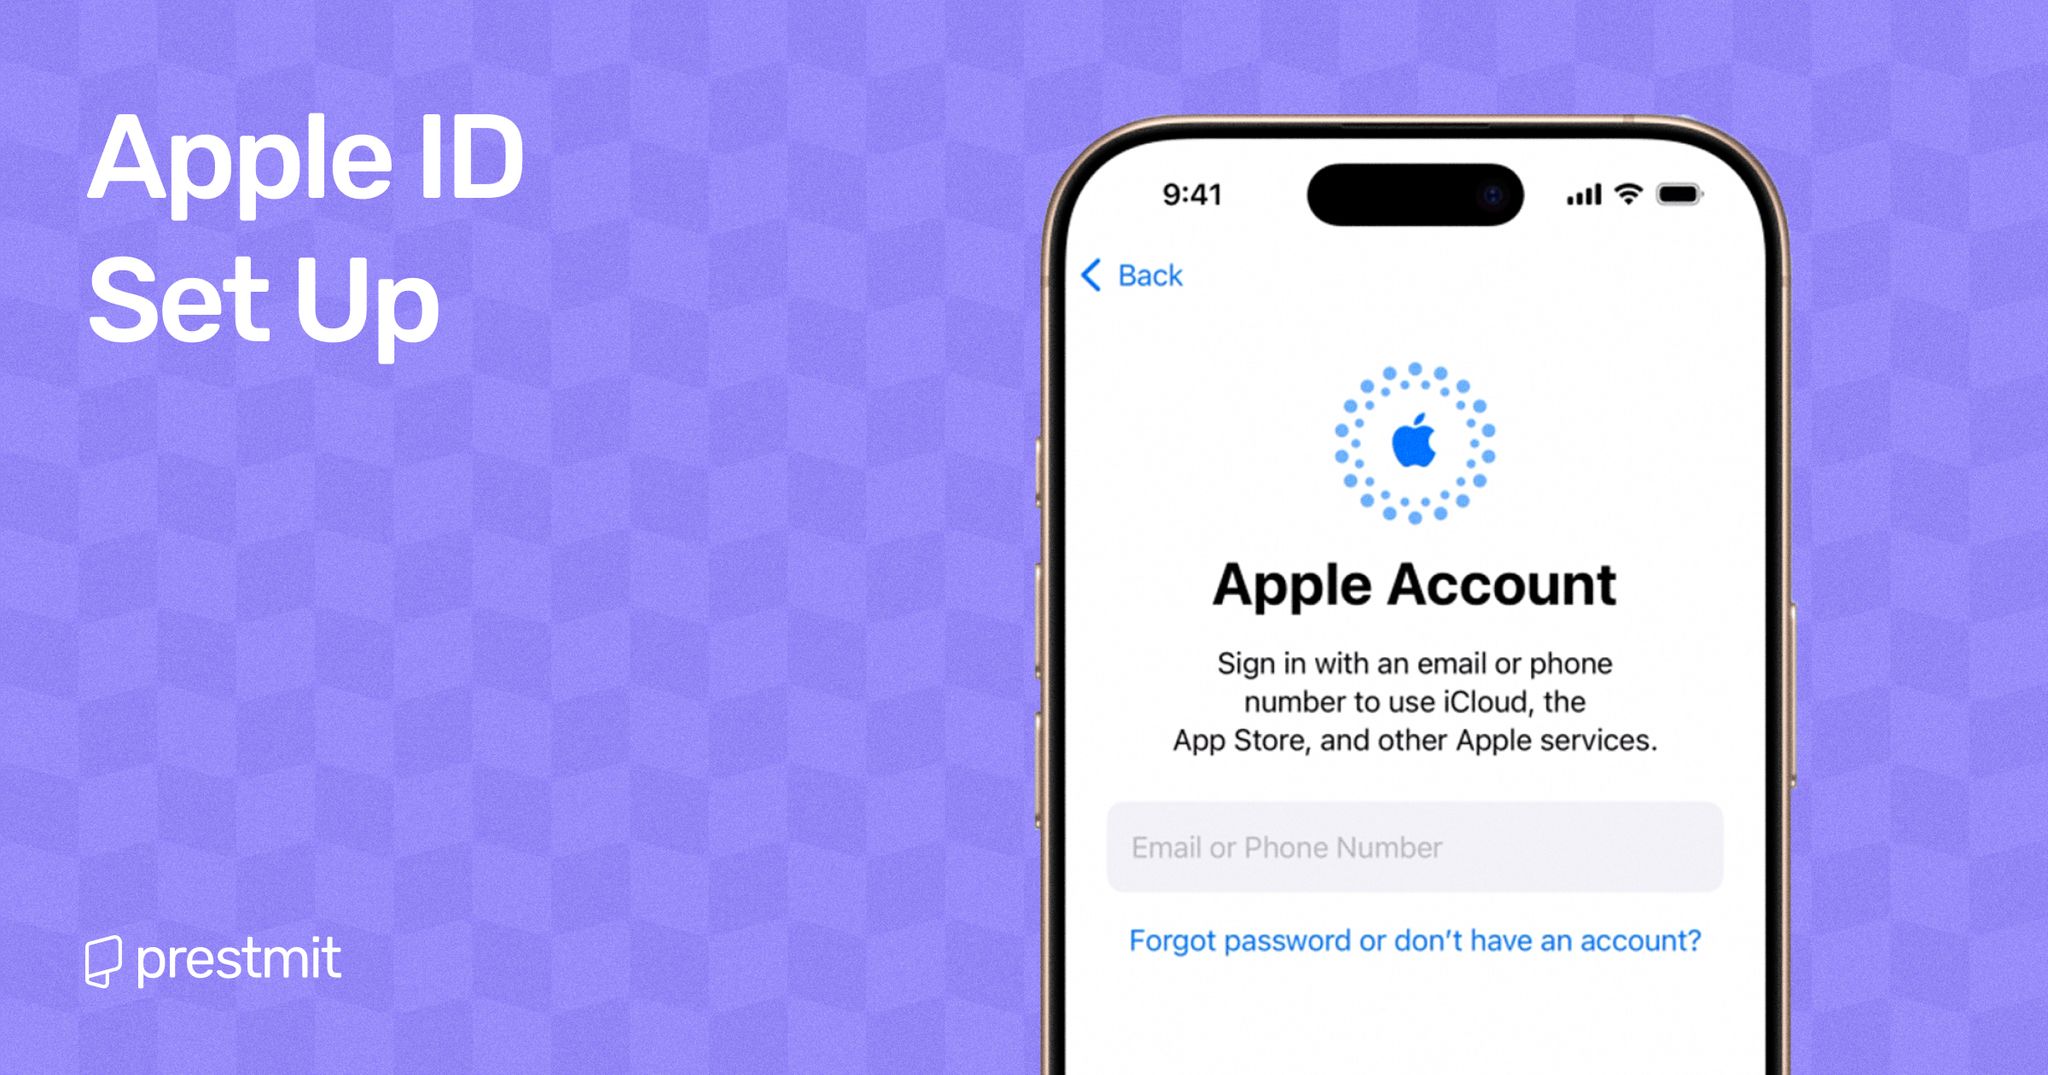
Table of Contents
There is a special kind of excitement that comes with unboxing a new iPhone or MacBook. The sleek design, the clean interface, and that first power-on moment all remind you why Apple devices feel different. But before you can explore all the features that make it special, there is one small essential step – setting up your Apple ID.
Your Apple ID is what makes the entire Apple experience work. It keeps your photos, contacts, and files synced across devices, lets you download apps from the App Store, and gives you access to services like iCloud, iMessage, and FaceTime. Without it, your device is only half alive.
The good news is that creating an Apple ID is quick and simple. You can do it directly from your iPhone or MacBook in just a few minutes. In this guide, I will walk you through the process step by step, so you can move past setup and start enjoying your new Apple device right away.
What Is An Apple ID?

An Apple ID is your personal account for all Apple services. It links your iPhone, MacBook, iPad, and other Apple devices to tools like iCloud, the App Store, iTunes, Apple Music, iMessage, and FaceTime. With it, you can access your apps, files, and media across all your devices seamlessly.
One of the biggest benefits of an Apple ID is how it keeps your data synchronized. Photos, contacts, notes, and calendar events automatically update across your devices. This means changes made on your iPhone appear instantly on your MacBook or iPad, keeping everything connected without extra effort. Apple strongly recommends using one Apple ID per user to keep your data consistent and secure.
Why Do You Need An Apple ID?
An Apple ID is essential for getting the most out of your Apple devices. Without it, you won’t be able to download apps from the App Store, back up your data to iCloud, or access features like iMessage and FaceTime. It’s the key that unlocks the full functionality of your iPhone, iPad, or MacBook.
For instance, you need an Apple ID to use Apple Pay to send money or even use your Apple gift card effectively on your device if you are a gift card user. This makes it easy to manage purchases, store memories, and locate lost devices. All your data and settings stay in sync, so your information is always up to date.
Beyond functionality, an Apple ID adds convenience and personalization to your experience. It remembers your preferences, syncs your apps and files across devices, and allows you to pick up right where you left off. In short, it turns multiple Apple devices into one smooth, connected ecosystem tailored just for you.
How To Create An Apple Account On Your Apple Device
There are different steps involved in setting up a new Apple ID on various Apple devices like your iPhone or MacBook. So let’s start the journey of creating the account on the devices.
How To Create Apple ID On iPhone
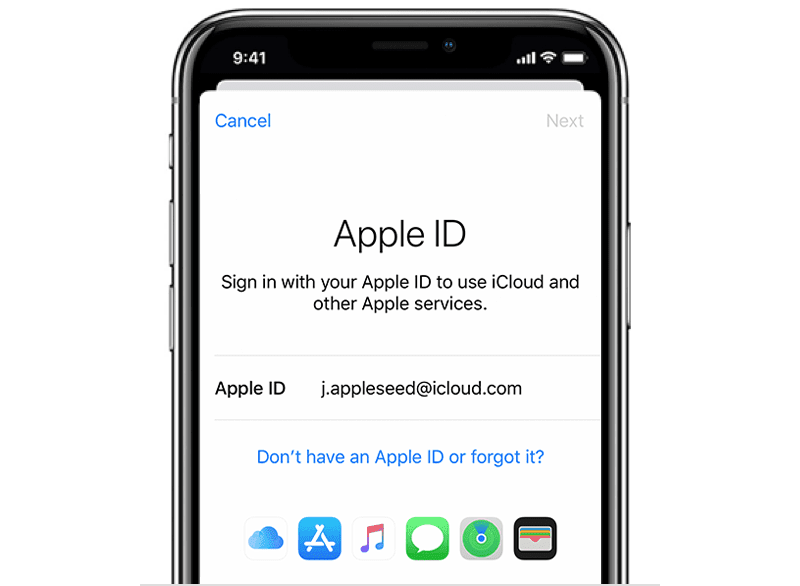
Here are the steps to follow:
- Open “Settings” on your iPhone and click “Sign into your iPhone.”
- Tap “Don’t Have an Account.”
- Choose “Create Apple ID.” Here, you need to enter details like your name, birthday, and email address.
- Apple will send a verification code to the provided email. Then, enter the code for verification.
- Upon verifying your email, you need a strong password for your Apple account. It is important to ensure that the password is something you can quickly remember.
- Agree to Apple’s Terms and Conditions.
- Your Apple ID is set up and you can start using your iPhone to its fullest capabilities.
How To Create Apple ID On MacBook
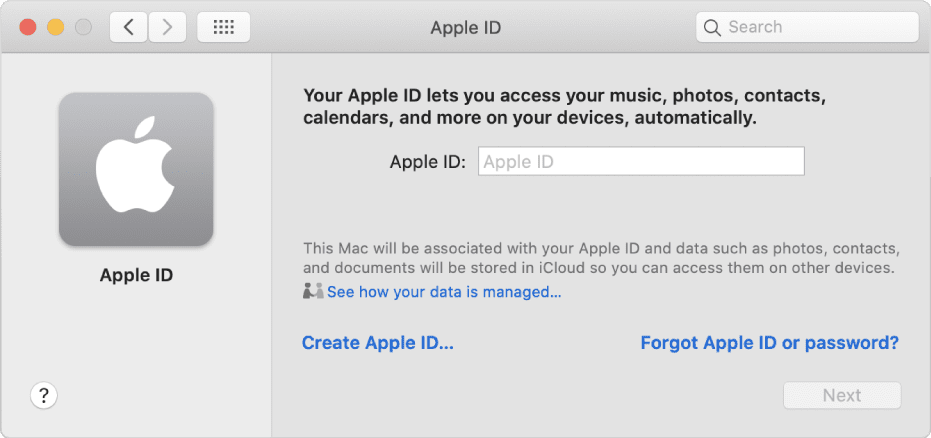
These are the steps to set up an Apple account on your Mac:
- Click the Apple, go to “System Settings,” and choose “Sign in with your Apple Account.”
- Click “Don’t Have an Account.”
- Enter your details like your name, birthday, and email address.
- You will receive a verification code via code. Enter the code to confirm your email.
- Create a strong password for Apple ID. As stated earlier, ensure to use a password you can quickly remember because that is important.
- Agree to Apple’s Terms and Conditions; your account will be ready.
- Your Apple ID is now active on your MacBook and you can start accessing Apple services.
Creating an Apple ID Without a Credit Card
Apple usually asks for payment information when setting up an Apple ID to make it easy to purchase apps, subscriptions, or services. However, you can set up an Apple ID without linking a credit card. This is perfect if you only want to use free apps, iCloud, or other Apple services.
To create an Apple ID without a credit card on your iPhone, start by following the usual setup steps. Open Settings, click “Sign in to your iPhone”, Don’t Have an Account and then Create Apple ID. When asked for a payment method, select None. Then complete the rest of the steps, including entering your email, verifying it, and setting a strong password.
On a MacBook, the process is similar. Alternative payment methods, like Apple Gift Cards or Apple Pay, can be added later if you want to make purchases without a credit card.
How To Change Or Reset Your Apple Account Password
As an Apple user, there may be some instances where you forget your Apple ID password, or perhaps you are suspicious of a security breach with unauthorized access to your account through your password. So, whatever the concern is, you may need to change or reset your account password.
How To Change Your Apple ID Password
These are the steps to follow to change your password if you suspect any unauthorized activity on your device:
- Open “Settings” on your iPhone and click “Sign-in & Security.”
- Click “Change Password.”
- You will be asked to provide your current password. After that, enter your “New Password.”
- Click “Change” and you are done.
How To Reset Your Apple ID Password
- Open “Settings” on your iPhone or visit Apple website on a browser if you are using a different device.
- Click “Forgot Apple ID or Password.”
- Enter your Apple ID (email address) and follow the prompts.
- Apple will send a verification code to your email address or phone number. Enter the code to verify your identity.
- After that, you will be required to create a “New Password.” Ensure that the password is strong and something you can quickly remember.
- Click “Change Password” and your reset is complete.
What Are the Common Tips and Common Issues Associated with Creating New Apple ID?
1. Troubleshooting verification email not received
Check your spam or junk folder, ensure your email address is correct, and request Apple to resend the verification code if needed.
2. Handling “Apple ID already in use” error
This happens when the email is linked to another account. Try signing in with that email, resetting the password, or using a different email to create a new Apple ID.
3. Recovering a forgotten password
Go to the Apple ID sign-in page and select Forgot Apple ID or password, then follow the prompts using your registered email or phone number.
4. Fixing two-factor authentication or sign-in issues
Verify your trusted devices, ensure your phone number is up to date, and check your internet connection for a smooth login.
Best Security Practices in Creating a New Apple ID
1. Use a strong, unique password
Combine uppercase and lowercase letters, numbers, and symbols to make your account harder to hack. Avoid easily guessed information like birthdays or simple sequences.
2. Enable two-factor authentication (2FA)
This adds an extra layer of protection by requiring a verification code sent to your trusted device, even if someone knows your password.
3. Avoid using public Wi-Fi during setup
Setting up your Apple ID on untrusted networks increases the risk of unauthorized access. Always use a secure, private connection.
4. Keep recovery options updated
Ensure your recovery email and phone number are current. This makes it easier to regain access if you forget your password or need to recover your account.
5. Regularly review your Apple ID security settings
Check for unfamiliar sign-ins, update passwords when needed, and monitor account notifications to keep your data safe.
Frequently Asked Questions (FAQs) About Creating Apple ID On iPhone Or MacBook
Is My Email Address My Apple ID?
Yes, your email address is what you will use to sign in to your Apple ID. It is also what you need to sign in to Apple services like the App Store, iCloud, etc.
Can I Use Gmail For My Apple Account?
It is not a must that your Apple account should have an email in @icloud.com. As such, you can use your email address in gmail, yahoo, and other addresses to create an Apple ID.
Can I Remove My Apple ID From My iPhone?
You can remove your Apple account from your iPhone if you are selling the phone or giving it to someone. Simply go to “Settings” and click your name at the top. Navigate down to click “Sign Out.” Follow the prompts to remove your Apple ID from the device.
Why Is My Apple ID Not Active?
Your Apple account may not be active for different reasons. This can be the case of incorrect login attempts, disabled by Apple for some reason, or security issues. You can fix this by going to the Apple website to follow the steps to reset your password and reactivate the account.
Conclusion
We can not overemphasize the many features and capabilities of an Apple device. However, the journey of effective use starts with creating a new Apple ID to enjoy the services that the device offers. The account is easy to set up that we the steps highlighted in this article, you are ready to be the newest active iPhone or MacBook user in town.
Last updated on November 19, 2025